How to create and activate a site in Salesforce.org?
To start with Shopify and Salesforce sync settings process, the very first step is to create a site and then to activate it. Here is a rundown on how to create a new site in your Salesforce.org.
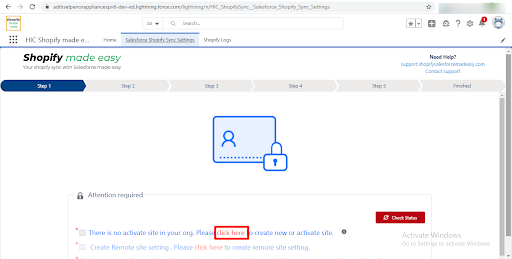
After logging into Salesforce.org, search for HIC_Shopify made easy. From hereon, go to Shopify Salesforce settings to find Step 1 of the integration process. Click on check Availability and you should see there is no activated site in your Salesforce.org. So, to create a new site, click on “Click here” to create and activate a new site. See the Image attached for reference.
Figure - 1
This now takes you to a webpage where you will enter a unique Domain Name for your Salesforce Site. Click on the Check Availability button to validate uniqueness. Check on the small box on the right to give your consent and click on ‘register my domain’. See the below figure for reference.
Figure - 2
Refreshing the page, you should now see your Salesforce Site Domain name. Staying on the same page, scroll down and click on “New” to create a new site. Reference figure below-
Figure - 3
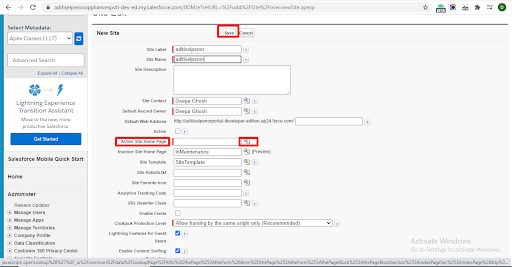
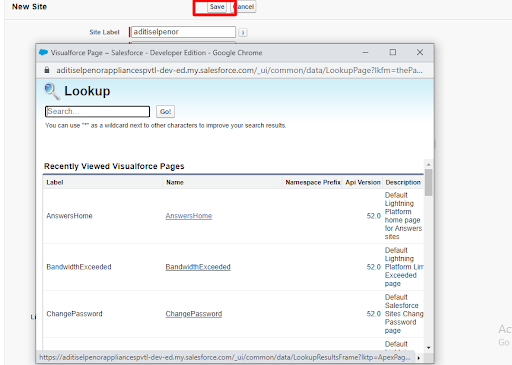
After this you will be taken to a webpage where you should create your own Site Name and Site Label. On this site edit page, fill in the mandatory details marked in red. Fill in the Active Site Home Page field by opening the lookup next to it, and pick one of the values in the list of Recently Viewed Visualforce pages.
This will populate the rest of the mandatory fields with appropriate values. Now. Click on “Save” to complete the site creation. See the figures below for reference.
Figure - 4
Figure - 5
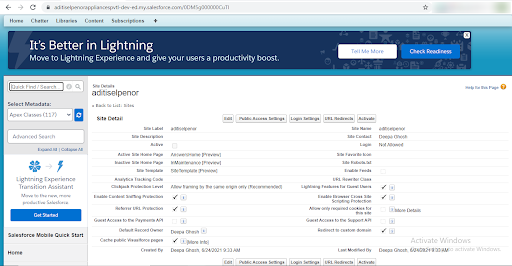
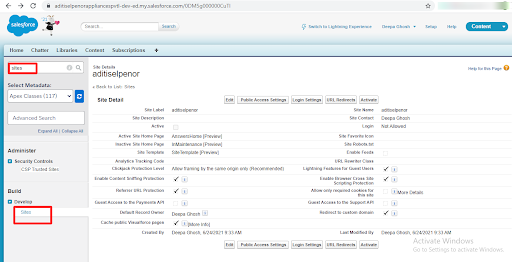
Now your Site Name and Site Label is created. You should be able to see the site details on the following page as shown in the figure below.
Figure - 6
Now that your site is created, it’s time to activate your site. From the same page, Go to Quick find/Search and type Sites. Click on “Sites” as shown below
Figure - 7
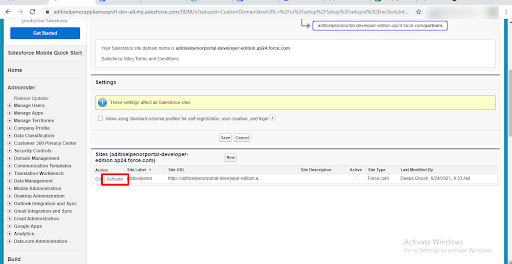
This redirects you to the webpage to activate your created site. Once on that page, click on “Activate” to activate the site you created. See the below image for reference.
Figure - 8
Your new site is now created and activated.
We hope you liked this article and it was helpful for you. If you have any further queries, click here to reach out to us anytime.